Photographing Birds in Low Light Without a Flash
Bird photography in low light is a familiar challenge for anyone who spends time in UK woodlands during overcast mornings. Dense cloud cover and shaded forest floors reduce the intensity of natural light, which leaves less margin for exposure error. The available light can also change from one moment to the next, especially when wind moves the branches overhead. Without a flash, the photographer must adjust ISO, shutter speed, and aperture deliberately to make the most of what the environment provides.
At the same time, working without flash allows the ambient atmosphere of the scene to remain intact. The soft, directional qualities of early morning light and woodland shade can reveal feather texture in ways that artificial light often cannot. A bird’s true colours are easier to assess when the light source is consistent and familiar. The aim is not simply to brighten the image, but to balance technical settings with the natural character of the environment, so that plumage detail and colour remain believable.
Understanding Low Light and Bird Behaviour
Low light in bird photography is not a single condition. An overcast dawn can produce a flat, evenly lit sky, while a forest interior may contain dappled patches of sunlight and deep shadow. Both situations call for careful observation before any settings are changed. The direction of light, the position of the subject, and the amount of movement in the surrounding foliage all influence exposure choices.
Birds also respond to the presence of the photographer. Using a flash can startle sensitive species and alter their natural behaviour, which often results in brief flight reactions or a change in perch. When flash is removed, the scene remains closer to its original state, and this can make it easier to photograph birds as they feed, preen, or rest. Patience and stillness become important tools, especially when the light is too weak for fast shutter speeds.
Balancing ISO and Shutter Speed
ISO determines how sensitive the camera sensor is to light. Raising the ISO can make a darker scene appear brighter, but it also introduces digital noise, which may reduce the clarity of fine feather detail. Modern cameras have improved high-ISO performance, yet the acceptable level of noise still depends on the camera model, the final image size, and personal preference. In many cases, a modest amount of noise is easier to accept than a blurred image, because noise can be managed with software while motion blur cannot.
Shutter speed controls how long the sensor is exposed to light and how motion is recorded. A small bird moving its head rapidly or flicking its wings requires a faster shutter speed to keep the edges of the feathers sharp. In low light, however, a fast shutter speed reduces the amount of light entering the camera, so the photographer must decide which type of motion is most important to freeze. For example, the slow turning of a bird on a perch may be managed with a moderate shutter speed, while the sudden take-off of a ground-feeding bird demands a quicker response.
During overcast mornings, light levels can change quickly as cloud thickness varies. A starting point might be ISO 800 or 1600, with adjustments made according to the lens aperture and shutter speed in use. In deep forest shade, higher values such as ISO 3200 or 6400 may become necessary. In many situations, allowing the ISO to rise and capturing a correct exposure can be preferable to underexposing and attempting to recover dark areas later, because brightening shadows often creates more noise than a moderate ISO setting.
For example, a photographer using a 500mm f/5.6 lens on a dull morning may need a shutter speed of 1/500s to freeze motion. If the light meter indicates a correct exposure at f/5.6 and ISO 1600, that combination may produce a workable image with visible feather structure. If the subject is stationary, a lower shutter speed might allow the ISO to remain lower, but the risk of camera shake increases. The photographer’s comfort and experience also play a role in deciding how far the ISO can be pushed.
Aperture and Depth of Field for Feather Detail
Aperture affects both exposure and depth of field. A wider aperture, such as f/4 or f/5.6, lets more light reach the sensor, which is useful in overcast or shaded conditions. The trade-off is that the zone of acceptable sharpness becomes narrower. With a longer telephoto lens, this narrow depth of field can cause the eye to be sharp while the tail feathers fall out of focus.
In practice, the photographer needs to place the focal point carefully. The eye is usually the primary reference for sharpness, and it can serve as a reliable focus target. If the bird is angled towards the camera, the distance between the eye and the body may require a smaller aperture to keep more of the head in focus. Choosing f/8 or f/11 may bring more of the bird into focus, but the slower shutter speed or higher ISO needed to maintain exposure must also be considered.
An example in forest shade might involve a robin perching on a mossy branch. At f/4, the background becomes softer and the light levels remain workable, but if the bird turns its head, the eye may shift out of the shallow plane of focus. Closing the aperture to f/5.6 or f/6.3 would increase the chance of keeping the head and upper breast sharp, while still allowing enough light for a reasonable shutter speed. The ideal aperture depends on the exact distance between camera and subject, the angle of the bird, and the look that the photographer wants to achieve.
Preserving Natural Colours and Tonal Range
Natural colours are one of the main reasons to avoid using flash. Flash has a different colour temperature from ambient light and can make feathers appear harsher or less true to life. Overcast light and shade have their own colour casts, yet the muted palette of such conditions often records accurately when the white balance is set with care. This is particularly important for woodland birds whose plumage includes subtle browns, greys, and olive tones.
Auto white balance can produce dependable results in many situations, but it may also neutralise the gentle warmth of early morning light. Using a custom white balance based on the surrounding vegetation or a neutral grey card can help maintain the colours observed at the scene. When shooting in RAW, white balance can be refined later without losing image quality, which gives the photographer more freedom to respond quickly to changing light. In deep shade, a custom measurement can prevent the blue tint that often appears when the camera tries to compensate for low colour temperature.
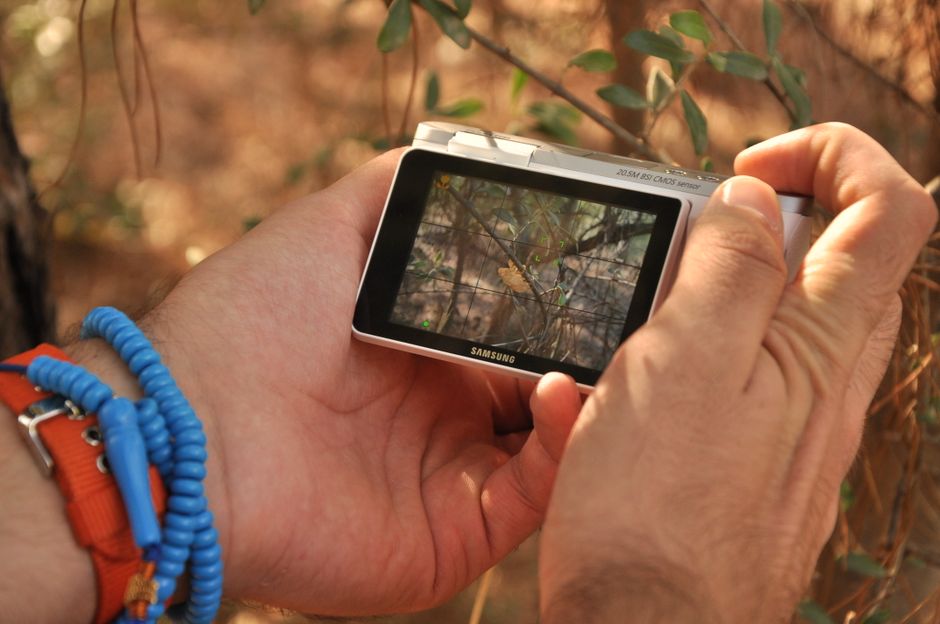
Exposure also affects colour. If the image is too dark, the shadows may appear muddy and the subtle browns and greens of the forest can lose their richness. If it is too bright, the highlights in the feathers may become clipped. Reviewing the histogram on the back of the camera is a practical way to judge whether the tonal range remains within the sensor’s limits, especially when working in low light.